Step 4. Create Users
Users are associated to realms. Newly created realms will not have any users so you will need to create one or more users for your application.
Create a User
You can create a new user by following these steps:
- Open the Keycloak Admin Console
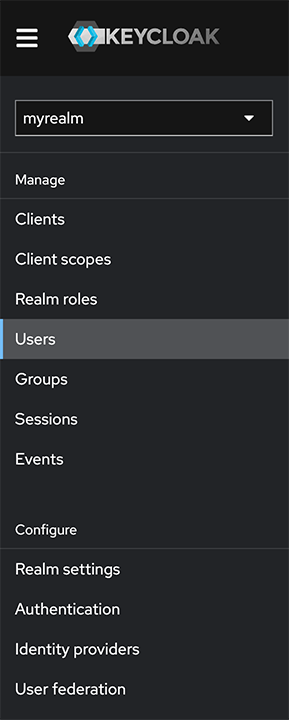
- Select "Users" from the main menu
- Click on the "Create new user" button
- Enter a username, first name and last name for the user
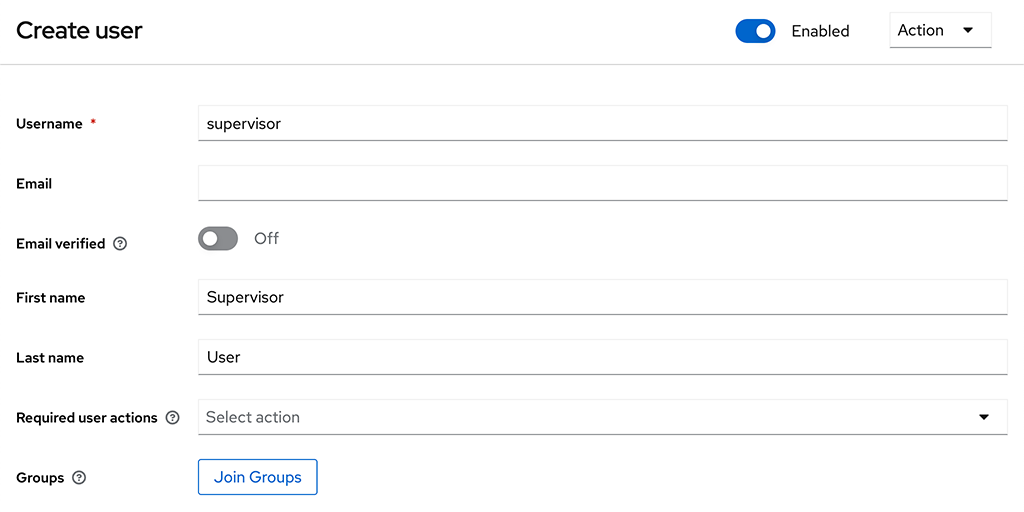
- Click on the "Create" button
This will create the basic user. To be able to login this user will need a password to be configured. Do this by following these steps:
- Select the "Credentials" tab
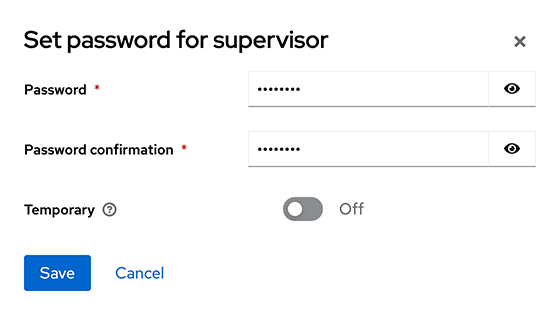
- Click on the "Set password" button
- Enter a password for the user
- Optionally set the password to be temporary (user must change on next login)
- Click on the "Save" button
Repeat these steps to add as many users as you need for your application.
Assign Users to Roles
Once you have created users you will need to assign them to the roles you created for your client. To do this follow these steps:
- Open the Keycloak Admin Console
- Select "Users" from the main menu
- Select the required user from the list of users
- Select the "Role mapping" tab
- Click on the "Assign role" button
- Select "Filter by clients" to view client roles and optionally enter a term to filter the roles by name
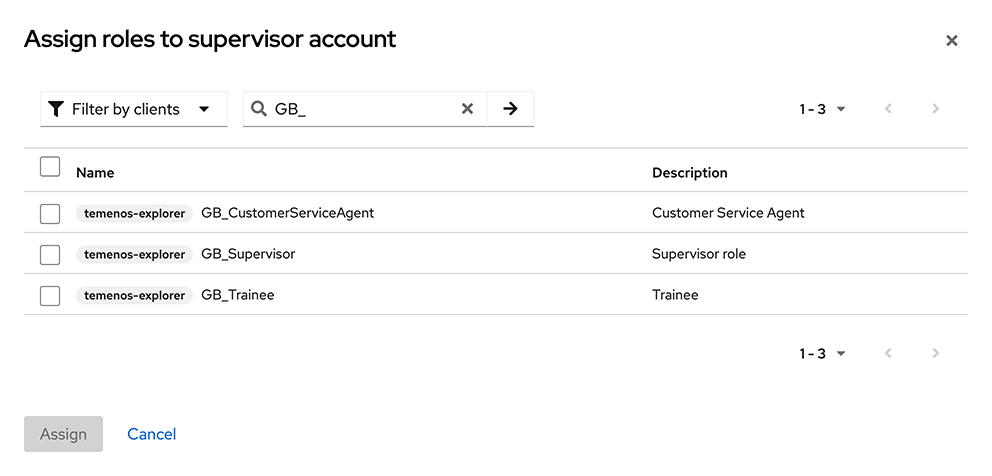
- Select the required roles
- Click on the "Assign" button
Repeat these steps to assign roles to as many users as you need for your application. Users can have multiple roles.