Step 3. Create a Client
Clients are applications and services that can request authentication of a user. You will need to create a client for Temenos Explorer.
Create a Client
Create a new client by following these steps:
- Open the Keycloak Admin Console
- Select "Clients" from the main menu
- Click on the "Create client" button
- Complete the form with the following details:
| Field | Details |
|---|---|
| Client type | Choose "OpenID Connect" |
| Client ID | Enter a URL safe and unique name for the client and make a note of this for step 5 |
| Name | Enter a name for the client |
| Description | Enter a description for the client |
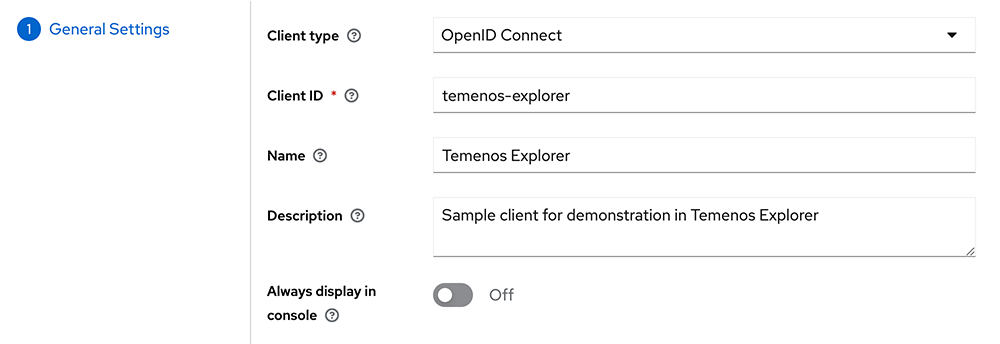
- Click on the "Next" button
- Leave the default settings as follows:
| Field | Details |
|---|---|
| Client authentication | Off |
| Authorization | Off |
| Authentication flow | "Standard flow" and "Direct access grants" enabled, all others disabled |
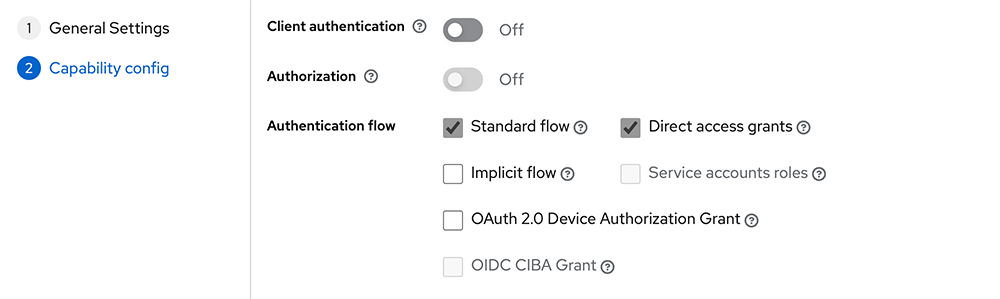
- Click on the "Save" button
Configure Your Client
Once you have created your client you will need to further configure it for use with Temenos Explorer by following these steps:
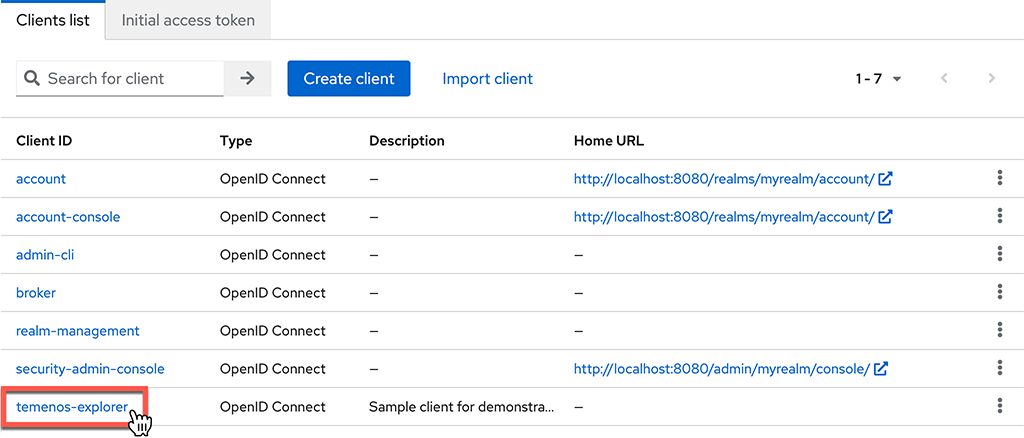
- Open the Keycloak Admin Console
- Select "Clients" from the main menu
- Click on your client in the list of clients
- Select "Settings" from the tab menu

- Navigate to the "Access settings" section
- Enter the following details:
| Field | Details |
|---|---|
| Root URL | The URL of your Keycloak instance (e.g. http://localhost:8080) |
| Home URL | The URL of your Keycloak instance (e.g. http://localhost:8080) |
| Valid redirect URIs | List of valid URI patterns which the browser can redirect to after a successful login. Simple wildcards are allowed, such as http://localhost:8001/* This should include the URL of the Temenos Explorer instance(s) that will use Keycloak for authentication. |
| Valid post logout redirect URIs | List of valid URI patterns which the browser can redirect to after a successful logout. Simple wildcards are allowed, such as http://localhost:8001/* A value of "+" will use the list of valid redirect URIs (recommended). |
| Web origins | List of allowed CORS origins. To permit all origins of valid redirect URIs enter a value of "+" (recommended). To permit all origins enter a value of "*" |
| Admin URL | The admin URL of your Keycloak instance (e.g. http://localhost:8080/admin/) |
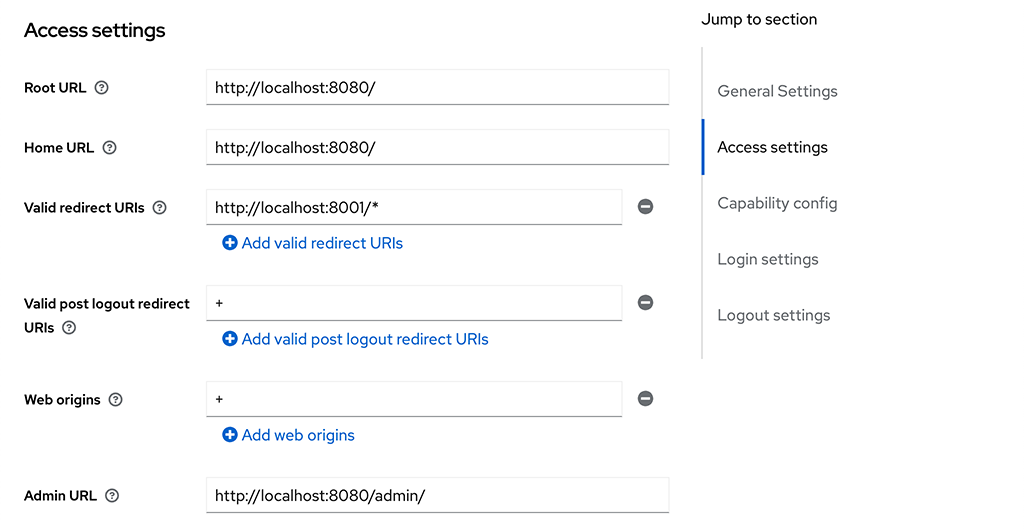
- Click on the "Save" button
Add Roles to Client
You will need to add roles to your client which correspond to the roles used by Temenos Explorer to limit which menu items users have access to.
Add roles to your client by following these steps:
- Open the Keycloak Admin Console
- Select "Clients" from the main menu
- Click on your client in the list of clients
- Select "Roles" from the tab menu

- Click on the "Create role" button
- Enter a "Role name" and "Description"
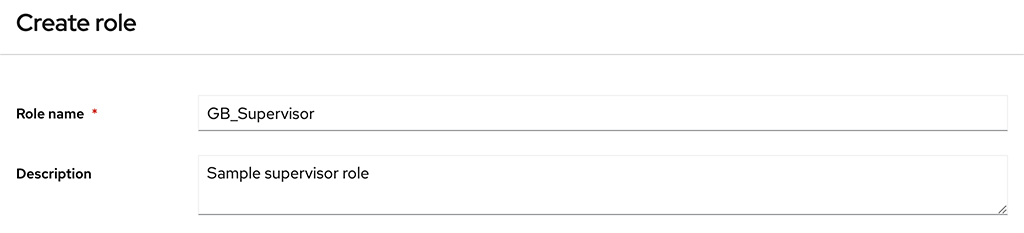
- Click on the "Save" button
Repeat these steps to add as many roles as you need for your application.