Step 2. Create a Realm
A realm manages a set of users, credentials, roles, and groups. A user belongs to and logs into a realm. Realms are isolated from one another and can only manage and authenticate the users that they control.
Create a Realm
By default there is a single realm in Keycloak called master which is dedicated to managing Keycloak and should not be used for your own applications.
Create your own realm by following these steps:
- Open the Keycloak Admin Console
- Click on the realm dropdown in the top left corner which has
masterselected - Click on "Create Realm"
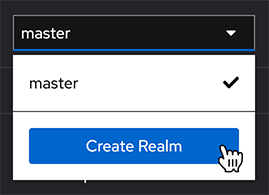
- Enter a name for your realm (e.g. "myrealm")
- Click "Create"
This will create your new realm and select it for you in the realm dropdown.
Configure Your Realm
The default settings for your realm will suffice, but it is recommended you update the display name:
- Open the Keycloak Admin Console
- Select "Realm settings" from the main menu
- Enter a "Display Name" and "HTML Display Name" to be shown on the login page
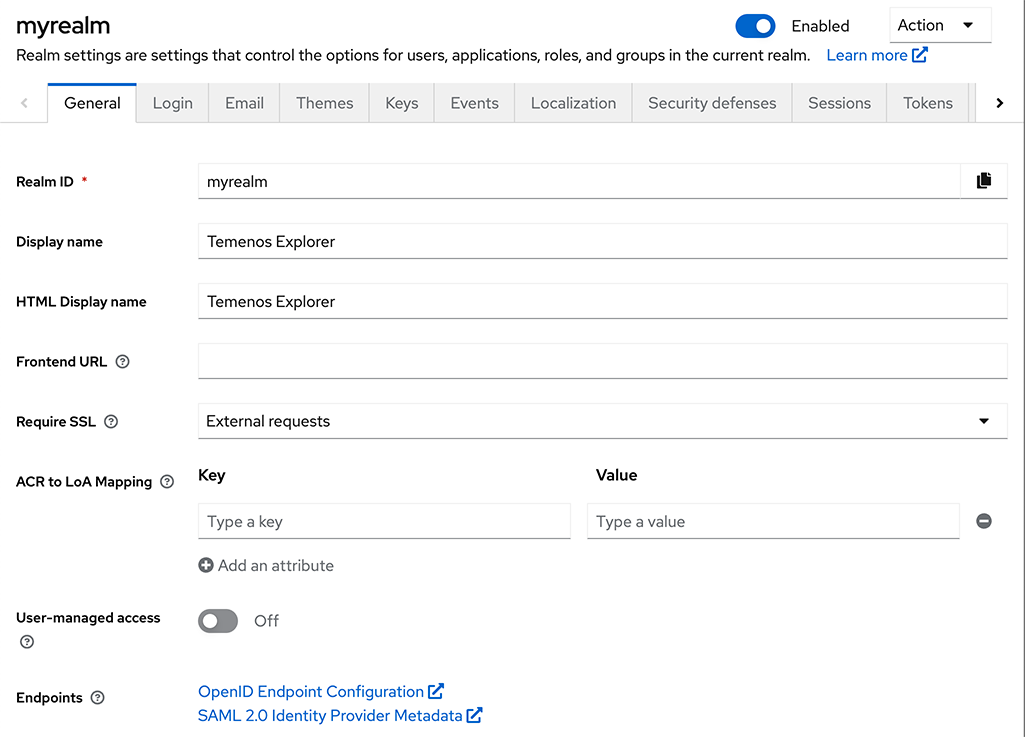
- Click on the "Save" button